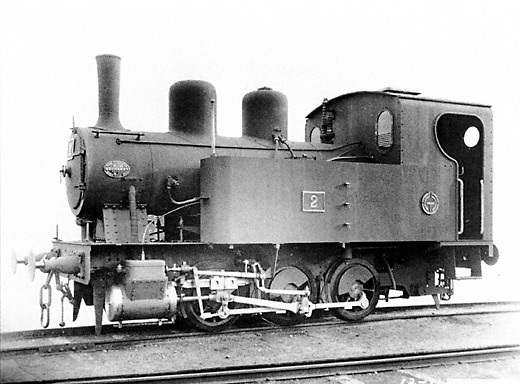
This post details my process for building the frame of the Hokutan #2 kit. For an introduction on this kit and the locomotive, please read this post.
I started building the frame quite some time ago, before I got several of the tools and materials to make soldering these kits easier. Because of this, a lot of the solder joints are actually pretty crude. Most of them aren’t visible in the final result however, so it’s not really a problem.
The frame was also quite a learning experience, not just with regards to building, but especially painting and preparing for painting. More on that later.
Base frame and gears
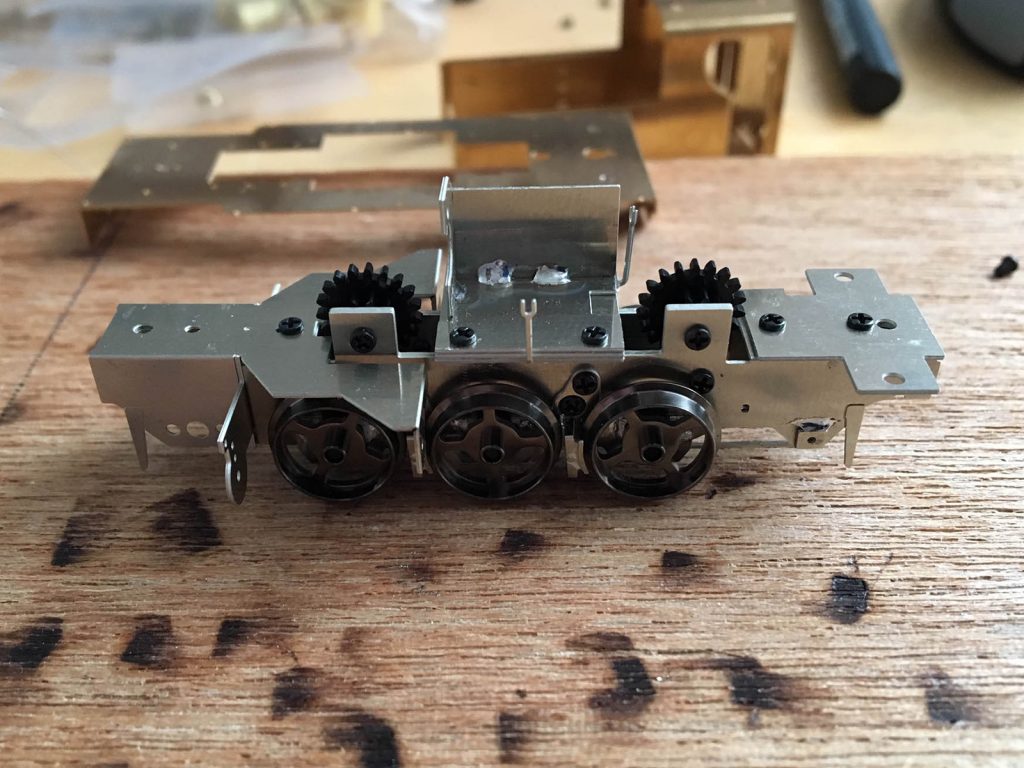
The biggest part of the frame is built using parts from nickel silver sprues. It’s just a matter of cutting out the parts, bending them where needed, and then soldering the bent joints for extra stability. Nickel silver is really easy to solder, it heats up quick, and takes solder easily even without using flux. For the frame I used a lead free solder that I normally use for electronics and installing decoders. It was pretty much my go-to solder for most things at the time.
The parts are very accurate, so they go together well. Pretty much all parts of small holes or tabs so you can line them up perfectly, with almost no play. This is also makes test fitting things easier, which is definitely something you want to do often. Once you solder something in place, it’s really not much fun removing it again.
Not all pars of the frame are soldered together. This makes sense considering there needs to be some way of picking up power from the track. For most of the World Kougei kits I build, the wheel axles make direct contact with the frame, so there needs to be some isolation between the halves. For the parts that are screwed together, holes have been pre-cut, but these don’t have any thread, so you need a tap to add the thread yourself. For this kit, I needed an M1.4 tap, which is really small and quite fragile. Even though the metal sheets are really thin, the tap can easily get stuck and snap.
The gears are made of plastic, and holding them in place are brass tubes that are screwed onto the frame. The gears tend to have a little but of flash from the manufacturing process, but a quick bit of sanding easily fixes that problem. The same goes for the brass tubes actually.
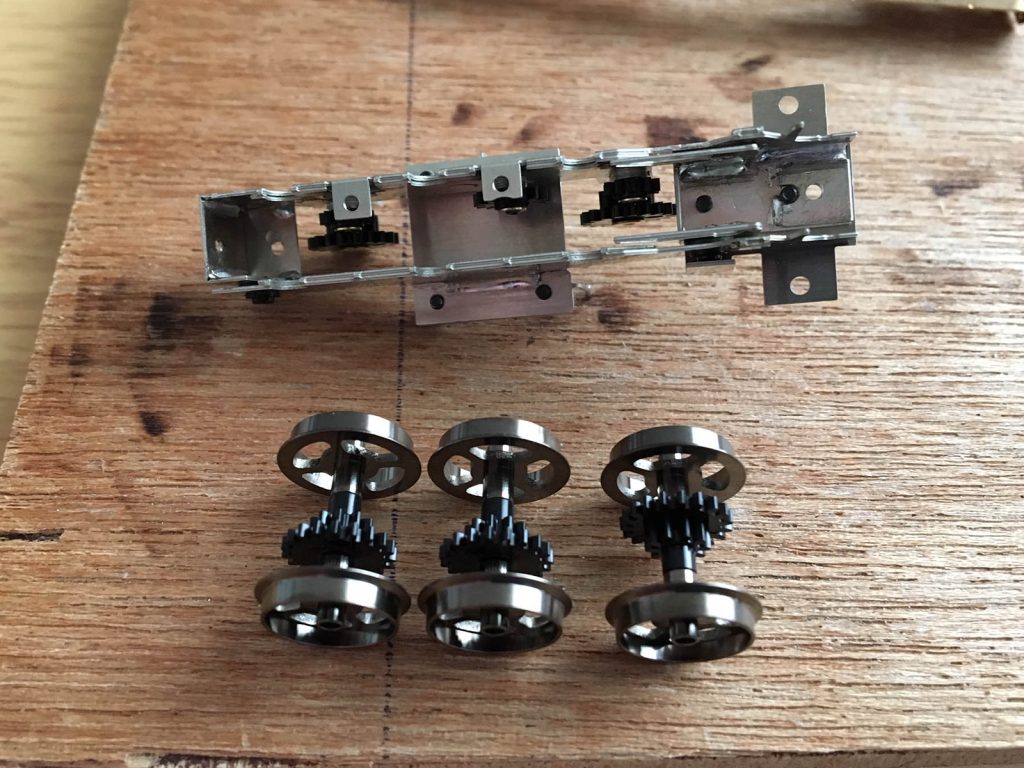
For this kit, the wheels come pre-assembled, which is not always the case with World Kougei. However, the actual spokes of the wheels are plastic inserts which don’t come pre-installed. Installing these is pretty critical considering you need to quarter them in order to get the locomotive to run well.
Cylinders and motor
The cylinders was something I wasn’t looking forward to. There are white metal parts, cast using the so-called ‘lost wax’ method. This allows for some very detailed parts, but the downside is, the melting point of white metal is fairly low. In fact, scrap white metal can theoretically be used as solder.
The melting point depends on the quality of the white metal as well, some low quality white metal can melt at temperatures as low as 140-150 degrees Celsius. This is clearly lower than the standard solder. What I found out, is that World Kougei’s white metal parts are very good quality, and their melting point is around the 200 degrees Celsius mark. This means it’s possible to use leaded solder (good ol’ 60/40 solder) to solder these white metal parts. However, you have very little margin, and you definitely need a soldering station with accurate temperature control.
It would be possible to use epoxy instead of soldering the white metal parts, and that’s actually something I’ve done with some N-scale kits. However, it’s quite messy to work with. Often the parts also need to be held in place for quite some time. So, I went and started looking for some low temperature solder, but ended up not finding any in the Netherlands. At this time the project got put on hold for a while.
Picking up the project again
After some time working on some N-scale stuff and looking at some of the bigger H0j steam locomotives, I decided I wanted an IMON 9600 series steam locomotive kit. After some unsuccessful searching for a store that sells the kit, and talking to some people in Japan, I was finally pointed towards an online store in Japan called Railgallery Rokko. Their English site lists only a small part of their available items, but you can order all the items they have on their Japanese site by just sending them an email. I noticed they also sell IMON items, so I decided to check with them to see if they could get the SL9600 kit. Turns out they can get most of the IMON items, including various useful tools, and also really small solder pellets and low temperature solder. Needless to say, I put in an order for quite a few items real quick.
Back to the Hokutan #2, with the low temperature solder now in my toolkit, I soldered the white metal parts in place. My first attempt was quite interesting, the parts take a while to heat up and take solder, and they take even longer to cool down. This means the low temperature solder can stay liquid for up to a minute depending on the size of the parts. Not realising this, the part I just thought I had carefully soldered to the frame, promptly fell off again because the solder hadn’t solidified. Minor problem of course, but something to keep in mind.
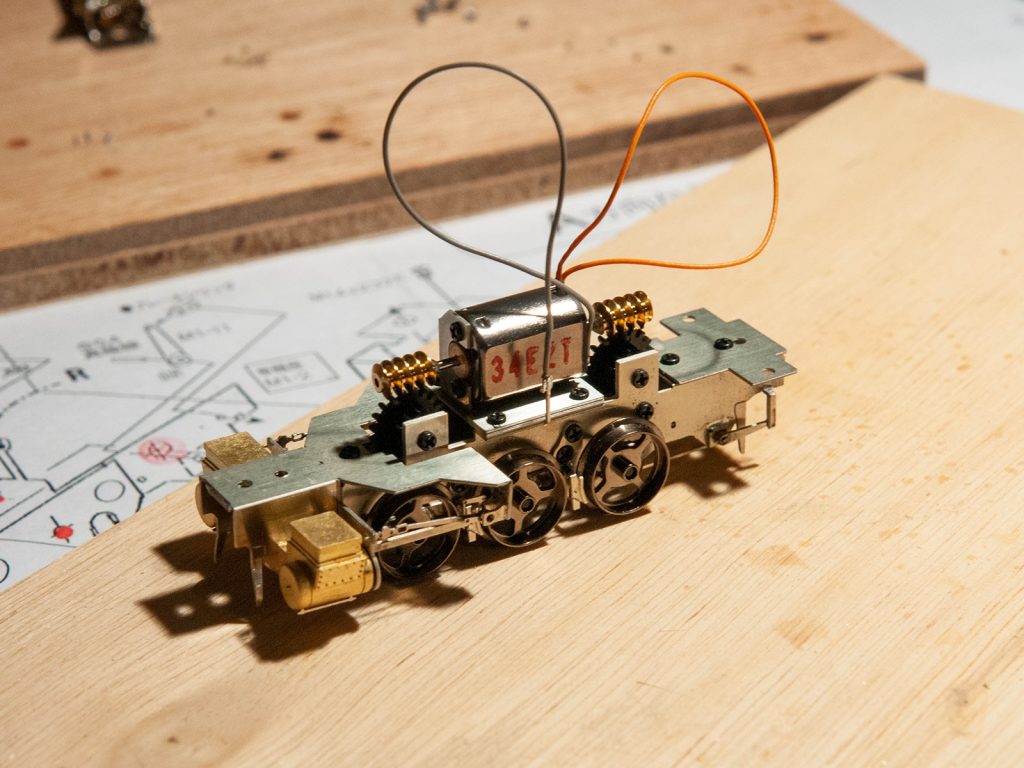
The final step, for now, was to use some epoxy to glue the worm wheels onto the motor’s drive shafts, and then install if for a quick test run. I did the initial test run using a simple oval of Tillig TT scale track, without decoder. Eventually I did temporarily install a decoder, as well as a power pack, and it actually ran really well. A little bit noisy, but I hadn’t oiled the motor or greased the gears. Also, the drive rods and all that are missing here, I didn’t want to install those before having painted the frame.
Painting the frame
Painting the frame was interesting. And with interesting I mean frustrating. I knew getting the paint to stick on metal would be difficult, so I used some Gunze Mr. Metal Primer, before using Vallejo’s polyurethane based primer. This looked like it worked well, so I mixed up a bit of Gunze flat black and Gunze flat white to get a dark grey, and airbrushed the frame with that.
I fairly quickly noticed some paint chipping, and doing some quick tests showed I could very easily scrape the paint off with my fingernail. This would definitely not hold up in the long run. I’m not sure what caused it, the frame was cleaned well before applying the metal primer, and I couldn’t find any info about if I might have used the metal primer wrong. I did have a rattle can of Tamiya metal primer, but I prefer not to use rattle cans if there’s an alternative.
After some searching, I came across some product videos by a company called Vantage Modelling Solutions. One of the videos showed a product called ‘Metal Prep’, which they used on one half of a small piece of metal, then painted the whole part and did some tests. The half that was treated with Metal Prep was considerably tougher than the non-treated part, and while it did show scratches in the paint, the paint never peeled off. I sent the company an email to ask for info and advice, and they turned out to be extremely helpful. I bought some of their Metal Prep, as well as some styrene cement, liquid mask, and various types of varnish.
Painting the frame, part 2
Once they came in I did some quick test on some empty metal sprues, and it all worked out much better. I cleaned up the entire frame, removing all the remaining paint and primer on it. Ran the parts through the ultrasonic cleaner, and then used the Metal Prep on them. After some drying time, I sprayed them using Vallejo Model Air Sky Grey as primer. After some more drying, I used a mix of 5 parts Vallejo Model Color Black and 1 part Vallejo Model Color White to get close to ‘JNR Black, thinned it down for airbrushing, and painted the frame parts. The resulting color is clearly not black, but it IS the actual color used for steam locomotives in Japan. Once the paint dried, I applied some of the VMS satin varnish, let it cure for about 2 weeks, and then reassembled the frame.

As you can see in the above picture, I did paint all the parts separately rather than first assemble the frame, and then paint the frame as a whole. While this has some advantages, I don’t think I will do this for the next kit. It’s difficult to hold the parts, and while the coats of paint are very thin, you do actually notice it. After assembling the frame, I noticed for example that the motor’s worm wheels have slightly more play on the gears. Assembling the frame first, and then painting it as a whole is likely a better option in this case.
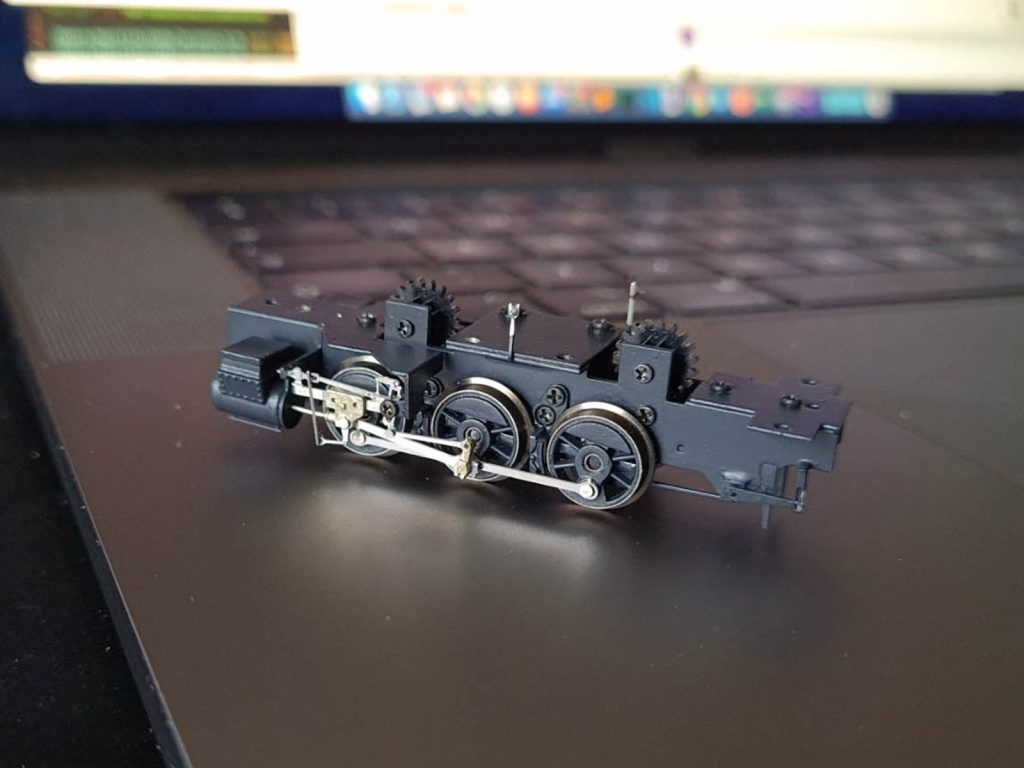
Drive rods
The last step for the frame was installing the inserts in the wheels, making sure they’re quartered correctly, and then installing the whole drive rod system. For the wheel inserts I used some epoxy. The inserts are a very tight fit, so it was easy enough to add a drop of epoxy, add the inserts, and rotate them in place so they’re quartered. It was mainly patience and checking often rather than skill.
The drive rods themselves required a lot more patience. They are quite fiddly, with lots of small parts. Getting them in place and then pinning them to the wheels took a few tries, always being careful not to lose any of the pins. At this point though, I noticed 1 of the most important parts was missing, or rather, the kit included 2 left parts instead of a left and a right one. I contacted RG-Rokko again, even though I didn’t by this kit from them, and explained the situation. They contacted World Kougei for me, and World Kougei said they didn’t have those parts anymore, but if I sent them the ‘wrong’ part, they could make a new one. So, I sent the part in question to RG-Rokko, which take almost a month considering the whole COVID-19 situation. After it arrived at RG-Rokko, they sent it to World Kougei, and within a week RG-Rokko received replacement parts. At the time of this writing, the parts are waiting for some other items I ordered before being shipped back to me. Service from RG-Rokko as well as World Kougei are definitely excellent.
Closing words
So, that’s where I am now, just waiting for the final part in order to do a test run with the drive rods in place. The body is also built for the most part, and is being prepared for priming. More on that in a future post.